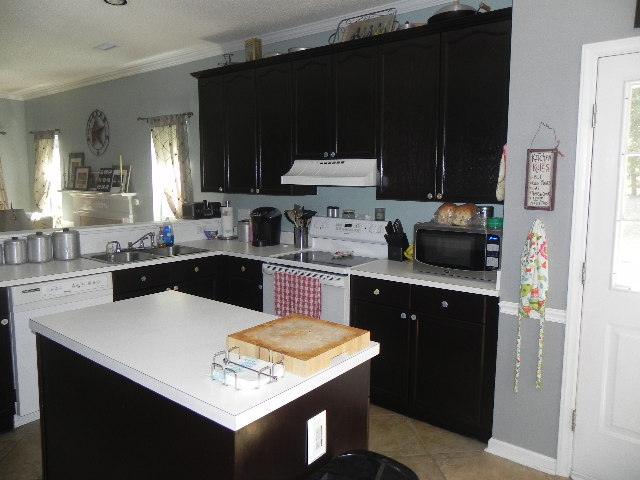


In case you are wondering, this is what I started with. They are just a basic honey-colored oak. I just wanted a more updated look, so I stained them. I used this tutorial http://www.monicawantsit.com/2012/02/staining-oak-cabinets-espresso-color.html I found on Pinterest (again, surprised?). I loved the look of her bathroom cabinets and really wanted it for the kitchen. However, I have never done anything like this before, so I tried it out in the boys bathroom first (see the post Summer Projects). I was very happy with it, but I knew the kitchen would take forever to do. I kept putting it off until I started to paint and realized I would not be happy until I just did it. Here are some before pics:


If you decide to do this, it is VERY messy and smelly! I tried my best to keep windows open.

I did not get a very good before picture of the lighting we had. It is at least visible in the top left corner of the above pic. It was a basic, long box, with fluorescent lighting. I really wanted to take that out and put up a nice fixture, but I just wasn't willing to pay a lot of money for one. I looked at several resale shops and on Craigslist. I finally found one at the ReStore and Lyndon wired and hung it for me. Not bad for $40! Plus it is not fluorescent, so my gray walls actually look gray rather than violet!


I also have searched in lots of places for replacement knobs. I found some really cute ones mainly from Anthropologie; however, I just can't justify $8 a knob especially with 40 drawers and cabinets to outfit. Anyway, I had done a craft using glass beads with the boys over the summer (see post: As for the rest of Summer) , and I wondered if I could make something like that into a knob. I was very excited that it actually worked, and I will be sure to do a separate tutorial for those of you who care! Here is a picture of one of them!

So, basically, I managed to do this project for about $200. Here is a rundown of what I bought:
1) Chalkboard paint $13
2) Gray paint from Valspar for $30
3) Stain and Topcoat for about $50
4) Glass beads from Michael's 3 bags at about $3 per bag: $9 in all
5) hardware and glue for the knobs $45 at a local hardware store
6) Tack clothe, heavy duty rubber gloves, paint roller, paint edger, small foam brushes, and plastic drop clothes all about $20
7) light fixture $40
8) old frame (on the chalkboard wall) $5
All we need now is a new dishwasher, oven and at some point new counter tops, and we are golden!
Happy Remodeling!
No comments:
Post a Comment